Your journey to drawings Stitch begins long before your pencil ever touches the paper. Imagine yourself stepping into a warm Hawaiian breeze, where laughter mingles with the hum of ukuleles and the sea stretches into forever. You’re not just sketching a blue alien; you’re inviting chaos, love, and ʻohana into every stroke.
In this guide, we’ll move from those first trembling pencil marks—simple circles and ovals—to a finished portrait brimming with personality. Along the way, we’ll lean on the wisdom of Disney animators, Pinterest artists, and fellow fans who’ve let their imaginations run wild. By the end, you’ll understand why Stitch isn’t just “Experiment 626” on paper—he’s an attitude, a spirit, and a reminder that even a little “broken” family can be beautiful.
Key Takeaways
-
Begin with Geometric Foundations: Start with basic shapes—circles for the head, ovals for the body—to keep proportions spot-on.
-
Capture Personality Through Details: Focus on those oversized ears, cross-eyed glare, and zigzag fur patterns that make Stitch unmistakable.
-
Incorporate Animator Techniques: Learn to pose Stitch dynamically by observing weight distribution, sharp limb bends, and the subtle curl of his tail.
-
Choose Your Tools Wisely: From an HB pencil for sketching to Micron pens for clean inking, tailor your supplies to both beginner-friendly and advanced approaches.
-
Join the ʻOhana of Sketchers: Share your work, embrace “imperfections,” and challenge yourself with playful exercises—draw Stitch surfing on a spaceship or fusing him with another favorite character.
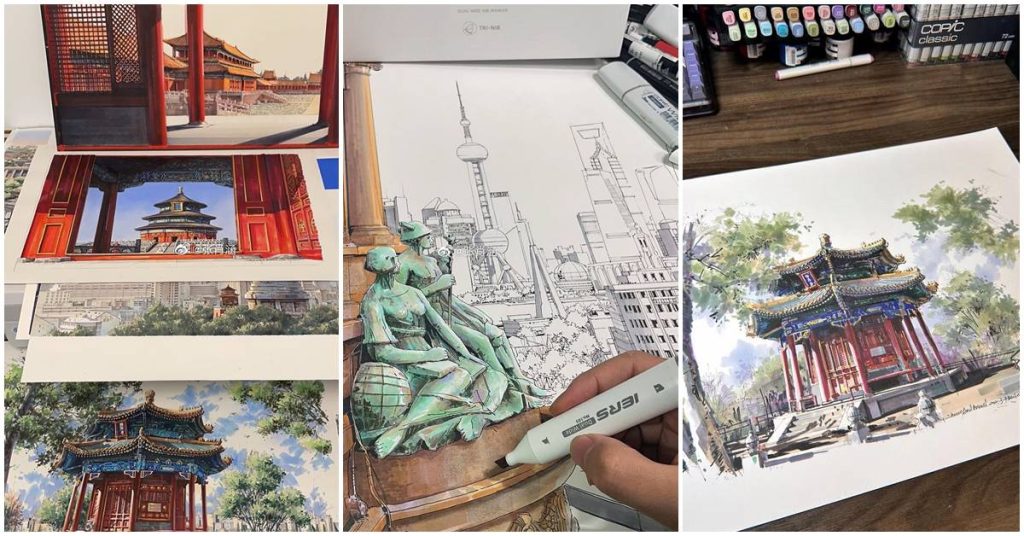
You May Also Like: Chinese Artist Uses Colored Marker Pens to Infuse Life into Simple Pencil Drawings
Part 1: The Fundamentals of Drawings Stitch
Why Start drawings Stitch with Shapes?
Every legendary artist you admire has one secret in common: they begin with the simplest building blocks. Disney’s animation studios aren’t so different. When they set out to craft Stitch’s mischievous grin and wide, curious eyes, they’d sketch a large circle for his head and a smaller oval for his body, overlapping slightly to indicate the forward tilt of his playful posture.
Angled ovals atop that head mark where his ragged ears will perch. It sounds almost too easy—circles and ovals, after all—but this is where “reducible” becomes “manageable.”
As one Pinterest artist aptly put it in a tutorial, “Getting his eyes and ears right was key to capturing his personality.” Start light—use a 2H pencil if you have one—so that when your sketch feels more like Stitch and less like abstract geometry, you can refine and erase without fear.
The Blueprint: Step-by-Step Construction
-
Head & Body: Draw a big circle for the head and a slightly smaller oval that overlaps at the base to form the torso. Let that overlap suggest Stitch leaning forward—mischief in the making.
-
Limbs: From the oval, sketch four tube-like lines for arms and legs, each tipped with three-clawed hands or feet. Remember: those claws aren’t menacing edges; they’re round and stubby, more playful than threatening.
-
Facial Guide: Lightly draw a vertical center line down the big circle and a horizontal line crossing it—this “plus sign” will keep your eyes, nose, and mouth aligned.
Pro Tip: Use a faint centerline from the nose down to the chin; it’ll help keep those oversized ears symmetrical and prevent them from looking lopsided.
Don’t worry if your first circles feel wobbly. Disney animators often trace over multiple times, refining as they go. Embrace the process: make mistakes, erase, redraw.
Here is the Professional Guide By Dawn On Drago ART
Part 2: Breathing Life into Stitch—Details That Matter
Mastering the Face
Stitch’s face is the heart of his soul—or, in his case, his alien consciousness. Three features will define that signature expression:
-
Eyes: Draw two large ovals, tilting them slightly toward the center. Place tiny pupils pointing inward to capture his gentle cross-eyed stare. His gaze shouldn’t feel flat; give those pupils a slight tilt so he looks as if he’s plotting something sweetly devious.
-
Nose: Place a simple, soft “button” shape just above where you’ve marked the mouth line. It’s small—don’t let it steal the spotlight.
-
Ears: These are the game-changers. Two ragged, elongated ovals that angle outward like miniature satellite dishes, each with little nicks along the edges. They’re how you’ll signal every quirk—whether he’s curious, startled, or ecstatic.
A Pinterest artist once reflected, “Getting his eyes and ears right was key to capturing his personality,” and they couldn’t be more correct. Those ears aren’t just big; they’re expressive instruments, able to droop, perk up, or flare. Let them do the talking.
Texture & Fur Techniques for drawings Stitch
Stitch’s blue fur isn’t about drawing every single strand. Instead:
-
Zigzag Lines: Along his back, head, and feet, trace gentle zigzag patterns to hint at the tufts without overcrowding the page.
-
Short, Directional Strokes: On his cheeks, belly, and inner ears, use quick, short strokes pointing along the curve of his form. This suggests fluffiness without turning into a frantic tangle.
-
Smooth Contrast: Keep his chest smooth and untextured—this contrast makes the zigzags pop even more.
Remember: less is often more. If every inch of Stitch were covered in tiny lines, you’d lose the playful simplicity that makes him so approachable.
For Example:
More Detailed Steps For The Drawings Stitch here on Facebook Post
Part 3: Professional Secrets from Disney Animators
Dynamic Posing Lessons
When Stitch isn’t lounging around for a portrait, he’s bustling with energy. Alex Kuperschmidt, Supervising Animator on Lilo & Stitch 2, teaches that dynamic posing is all about weight and balance:
-
Lean Forward: Tilt his torso just enough so it looks like he’s about to dangle off a cliff or dash into trouble.
-
Articulated Limbs: Bend those arms and legs with a sharp angle at the elbows or knees to imply motion. If he’s reaching for a cookie, have his arm arch with intent.
-
Tail Curl: Don’t render the tail flat—let it curl upward or to the side, counterbalancing whatever movement his body is making.
Pro animators draw loose gesture lines first, capturing the flow of momentum. Only once they’re satisfied do they tighten the drawing. Try sketching a few quick action lines before filling in details; you’ll begin to see Stitch’s “weight” as he leaps, dances, or gives you that iconic, wide-eyed stare.
Avoiding Common Pitfalls
-
Proportion Issues: Keep in mind that Stitch’s head should occupy roughly one-third of his total height. If your head grows too large or too small, he’ll appear either comical or awkward.
-
Over-Detailing: Resist the urge to draw every hair—simplify your fur into strategic tufts. Overcrowded lines will rob him of that iconic cartoon clarity.
-
Flat Expressions: If his pupils aren’t slightly tilted toward each other, he can look vacant. A subtle inward tilt conveys that signature “did-you-just-say-‘waahuupa’?” expression.
Professionals secrets for drawings stitch by Walt Disney Animation Studios
Part 4: Tools & Mediums for Different Styles
Beginner-Friendly Options
-
Pencils: An HB pencil works great for initial sketches, while a 4B can bolden edges once you’re confident.
-
Digital Apps: If you’re drawing on an iPad, Procreate’s symmetry tool will keep both cheeks and ears balanced.
-
Tracing: Nothing wrong with overlaying a reference to study shapes—until you feel comfortable free-handing.
Advanced Techniques
-
Watercolor: Layer washes of cobalt blue for a translucent, luminous effect. Let each layer dry completely before adding another, so those rich mid-tones emerge.
-
Charcoal: Smudge edges gently to create a furry haze around his silhouette. Charcoal can be messy, but that mess often yields unexpected magic.
-
Inking: Micron pens in 0.3 mm or 0.5 mm nibs will give you crisp linework. Start with thinner lines for interior details; finish with thicker outlines to make Stitch pop off the page.
Here is Very Interesting Tutorial post by How To Draw For Kids
Part 5: Joining the ʻOhana—Community Wisdom
Learning drawings Stitch from Others
The internet is bursting with fan artistry—Facebook groups like Sharing Ideas Official showcase parents drawing alongside their kids, time-lapse videos that break down shading techniques, and galleries celebrating “imperfect” sketches as unique style choices rather than shortcomings. There’s a certain freedom in knowing that even Disney’s top animators once had wobbly lines.
Practice Challenges
-
Three Emotions: Sketch Stitch in anger (maybe mid-roar), curiosity (ears perked, eyes wide), and pure joy (ears flopping backward, mouth open in delight).
-
Scene Recreation: Take your favorite scene—perhaps Stitch surfing on Cobra Commander’s hovercraft—and imagine his fur whipping in alien wind.
-
“Ugly Duckling” Hybrid: Fuse Stitch with another beloved character—Stitch-as-Snoopy, Stitch-as-Totoro, Stitch-as-Batman. Watch how he adapts his mischievous grin to a new universe.
FAQs: Quick Troubleshooting
Q: How do I fix lopsided ears?
A: Sketch faint “ear axis lines” from the nose to each ear tip. If one ear still droops, redraw it by rotating it slightly along that axis.
Q: What if my drawings Stitch looks too thin?
A: Widen the lower body oval. His torso is pear-shaped—give him that adorable belly bump to achieve the correct silhouette.
Q: Any advice for shaky lines while drawings Stitch?
A: Move from your shoulder, not just your wrist. Keep your arm loose, and draw in confident, fluid strokes. If you need more control, anchor your pinky on the paper and let the rest of your fingers guide the pen.
Your Journey Has Only Begun…
Stitch isn’t just lines or shading; he’s a living embodiment of chaos, loyalty, and unexpected heart on four stubby legs—maybe five when you count that tail. Even Disney’s top artists began by drawing imperfect circles on a blank sheet. Your first attempts might look like Experiment 626 literally escaped the lab and crashed your desk, but that’s all part of the fun. Every wobble, every smudge, is a step toward your own interpretation of this beloved character.
So share your sketches, join art communities, and let your creativity soar. Remember Lilo’s words: “This is my family. It’s little and broken, but still good.” In the same way, your art doesn’t have to be flawless to be meaningful—it just has to come from the heart. Grab your pencil, channel your inner extraterrestrial, and let your Stitch masterpiece take flight.

Hello art lovers. My name is Deepak Mehla, and I’m from Karnal, India. I enjoy reading stories about people’s struggles and how they overcome them. These motivational stories work like a source of energy for me.
Although Arttellers is completely different from my original vision, I, too, am going through a challenging phase in life. To keep myself busy and to hold on to hope, I share stories of artists with all of you. I believe these stories will give you a new direction, just as they inspire me.
Arttellers exists because I want to share how some people turn the work they love into their livelihood, and how choosing their passion leads them to success. I started Arttellers to keep my own hope alive and to help you discover people whose journeys might inspire you too.
Pingback: A Delightful Journey into the Drawing of a Panda Bear for Kids